The adhesive is an important factor that must be considered while installing kitchen backsplash. Also, this installation requires an ultimate guide, especially for outdoor places.
Tiling over existing tiles could appear like cheating, but if the conditions are right, it can save a part of time and exertion. And, once a new tile has been successfully laid, no one needs to know about it!
While most professionals recommend removing old tiles before re-tiling and grouting to achieve good quality, stable basement, sometimes laying tiles directly on top is by far the quickest solution.
Gives you more time to discover fantastic new bathroom tile and kitchen tile ideas. If you don’t want to hire a professional, tiling on tile is a job that you can do entirely yourself. Here we’ll cover all the key steps, with expert advice from those in the know.
You will also find more in-depth advice on laying walls, laying floors, and cleaning kitchen tiles, which will help you improve your knowledge of tiles.
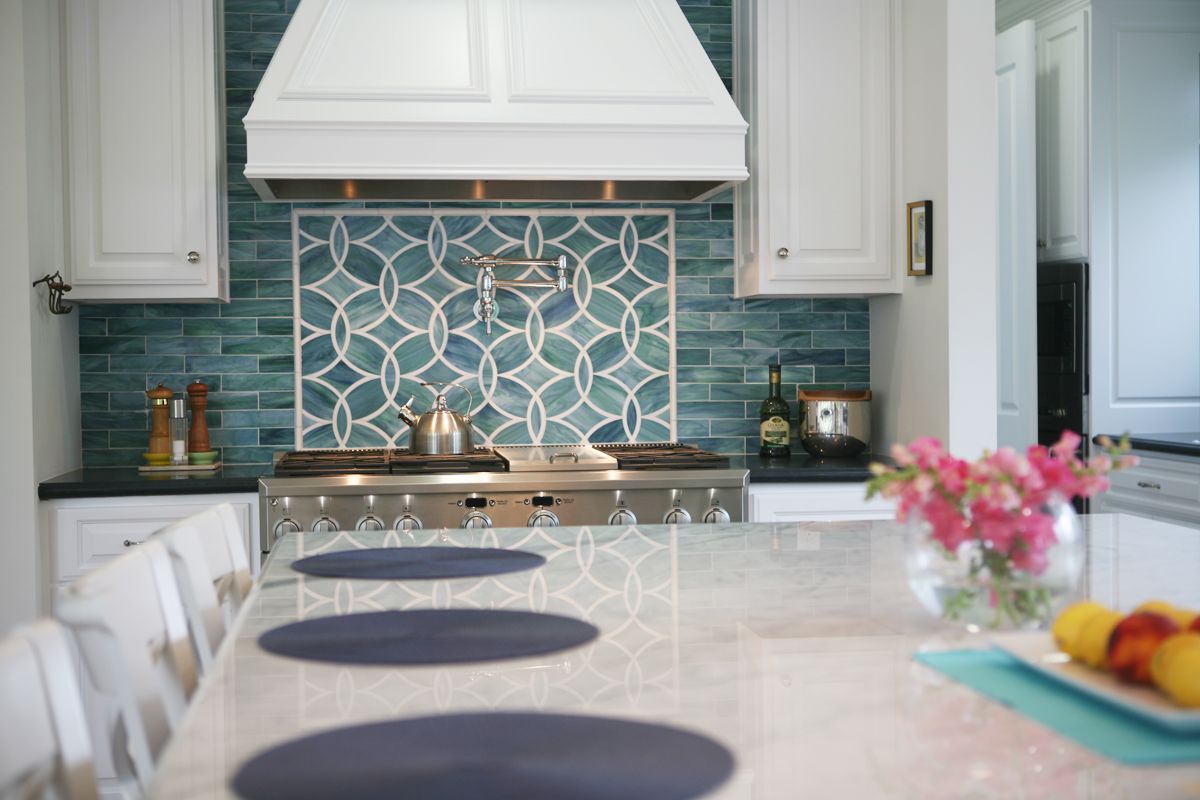
You will need:
- Tile cutter
- Grout float
- Grout finishing tool
- Bucket
- Drill with a mixing paddle attachment (or a stick!)
- Notched and straight edge trowel
- Pencil
- Tape measure
- Tile spacers
- Long spirit level
- Sponge
- Preparation of existing tiles
In expansion, to being flat, level, and in great condition, existing tiles ought to be clean, dry, and free of dust and soil. Sugar soap diluted with lukewarm water works great. Then use a roller to apply an acrylic primer to the existing tile. Adding a little sand to the primer will help lock in the surface, which is more important on walls than on floors as gravity will work against you!
- Choose the right tile
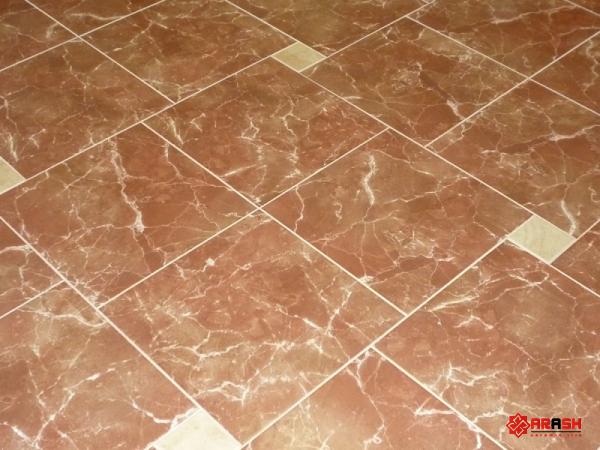
On the floor, the main concern when choosing the tiles to lay is the height. Thick tiles, like natural stone, can add too much height, affecting the threshold as you enter the room. If floor height changes make it difficult to connect slabs to other floors, meaning you have to change doors and add steps, not removing old slabs won’t necessarily save you time or money. On the wall, you have to take into account the added weight. Solid walls are less of a problem, but gypsum and tile-backed drywall will have recommended weight limits. For example, thin plasterboard can only support about 20 kg of tile weight and adhesive per square meter. Opting for new thin and light tiles, such as ceramic, is the best solution. If your heart is on heavy tiles, like marble, you’d better remove the old tiles first.

- Choose the right adhesive
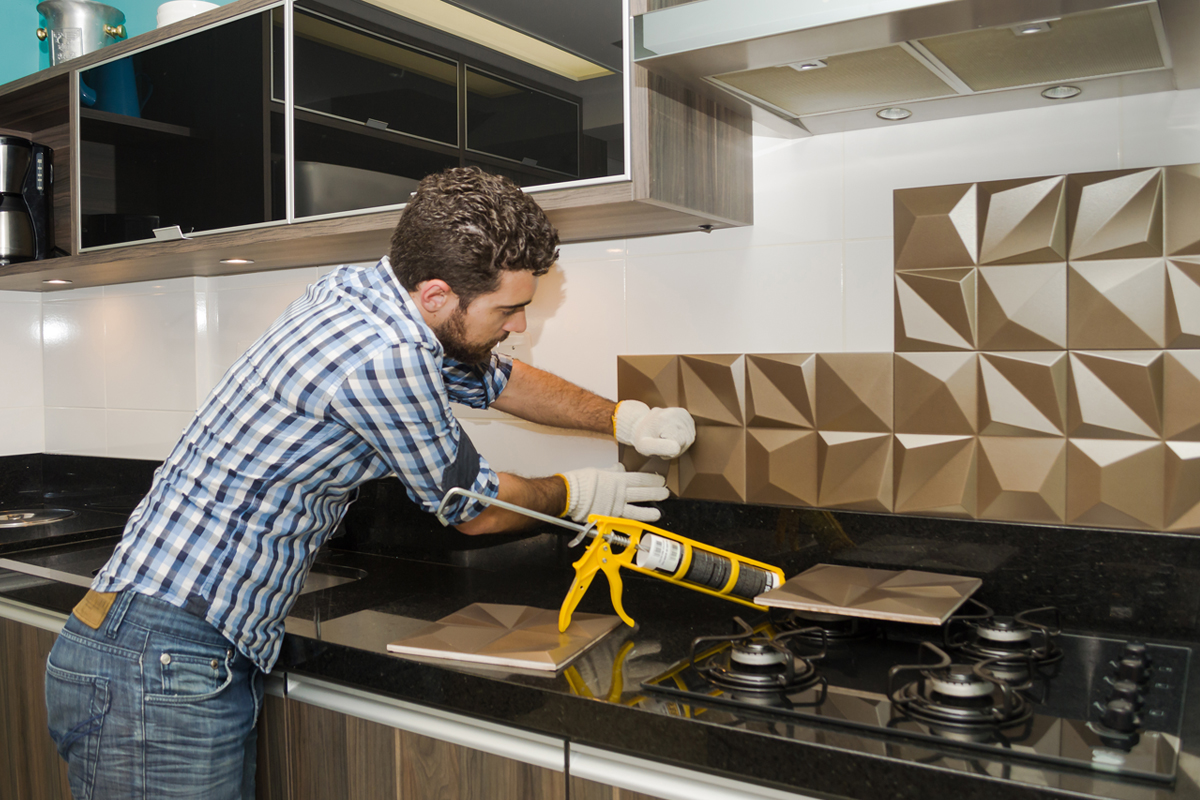
It is important to obtain an adhesive suitable for the tile-to-tile application. Latex modified or flexible adhesives are recommended. Some adhesives also specify the maximum tile size you can use, especially when laying tiles over tiled walls. Before you buy, always check the jar or packaging or ask your supplier for advice to make sure it’s suitable.
- Place new tiles
As you would tile any surface, first plan your starting position. It’s worth taking a moment to measure wall-to-wall distances to make sure you don’t leave thin strips of the tile where you meet corners or edges. The main difference when placing tiles over existing tiles is to try to overlap the grout lines instead of placing tiles of the same size on top of each other. The overlaps will provide better keys and help distribute the load (on the walls).
- Lay your tiles
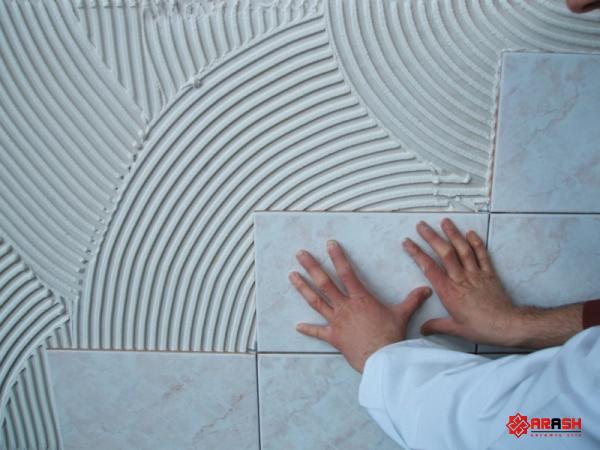
Tile on tile is no different from tile on any other surface. Be sure to apply an even adhesive with a notched trowel, with the grooves in one direction, and always use spacers to achieve an even grout line. To hold the tile in place, push it firmly into place, then wiggle it slightly to let the adhesive grooves suck up the tile. Once the edge sections are cut and all the tiles are set, wipe off any excess grout and allow them to dry for the time recommended in the bonding instructions. Don’t walk on the tiles amid this period.
- Fill in the gaps
Again, grouting tile on tile is the same process as regular tile, use a grout float to work the grout into the space, then use the cutter to cut the lines, our complete guide to grout contains details. We recommend epoxy grout for tiling in wet rooms or areas that may come into direct contact with water. It’s drier than powdered grout and won’t stain or discolor over time, making it more durable in its environment.
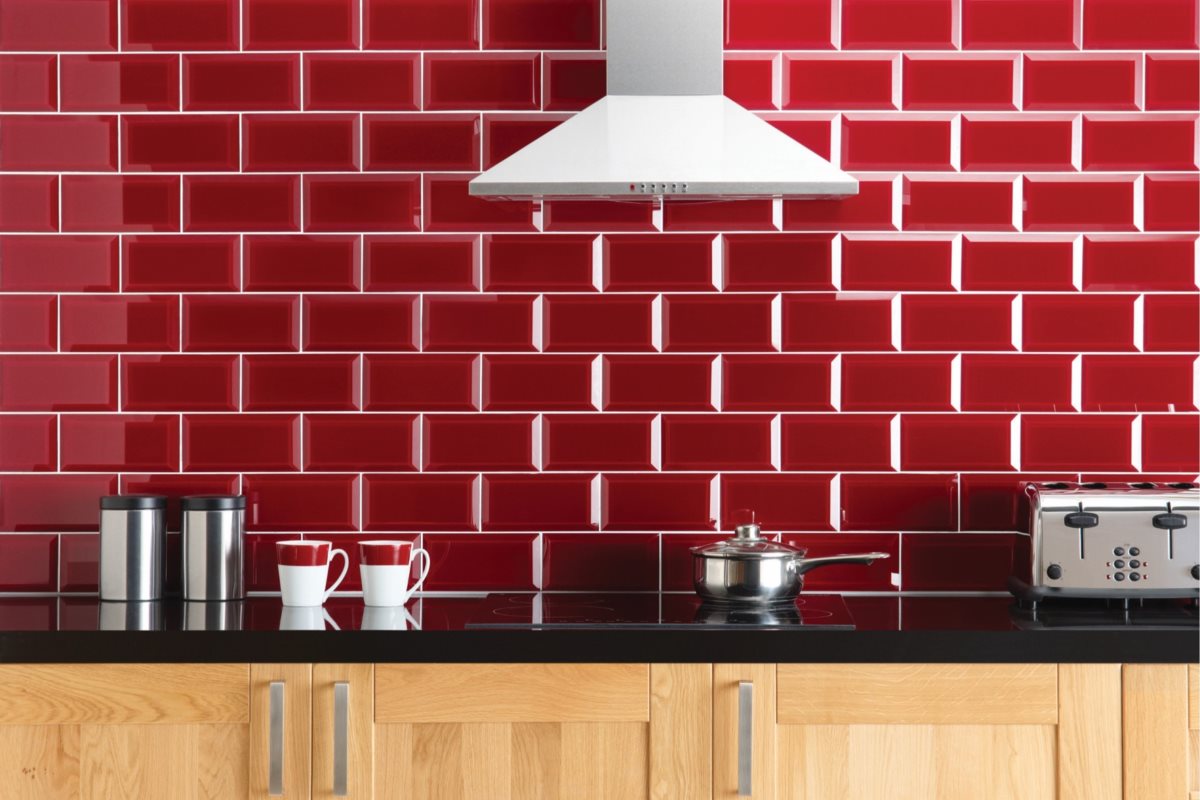
Adhesive tile ultimate guide
When installing the tile, an ultimate guide is required to ensure you select the right adhesive. Using the wrong type of grout or adhesive can cost you hundreds of dollars. Today, we’ll walk you through how to choose the right type of tile adhesive for your project, which materials are suitable for it, and some common tips to remember.
If you’re wondering what adhesive to use and where to use it, the best place to start is to understand the different types available. There are two important adhesives that can be used when installing tile. Your choice ultimately comes down to one of three considerations: if there is moisture in the tiled area, will there be movement (i.e., soil) or will there be heat? Below, we’ll investigate the main ones so you’ll be able discover the most excellent one for your project.
Premixed Adhesives:
It may be enticing to utilize this pre-mixed cement in your designs for comfort, but it isn’t appropriate for all applications. The pre-mixed adhesive is made in the tub, and of the two adhesive choices, usually one of the foremost classic. This type of adhesive dries quickly and once the tile has been glued, it can be a bit of a pain to rethink the position.
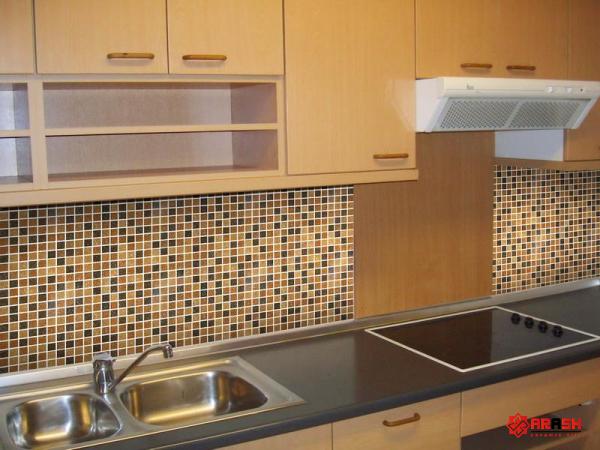
The latter favors certain designs. Although this is not ideal in many cases, it is better in a few cases. The first is for tiles. The second is when battling gravity, like a kitchen backsplash. The reason for the latter is that the pre-mixed adhesive begins to hold the tiles in place before they set, thereby reducing slippage.
For less than perfect circumstances, you ought to continuously avoid utilizing pre-mixed adhesives in zones where dampness is present. To use mortar, quickly spread the mortar and screw the tile into place. It is recommended to work on the wall from the bottom up, using a 2×4 to hold the bottom rows of tiles in place.
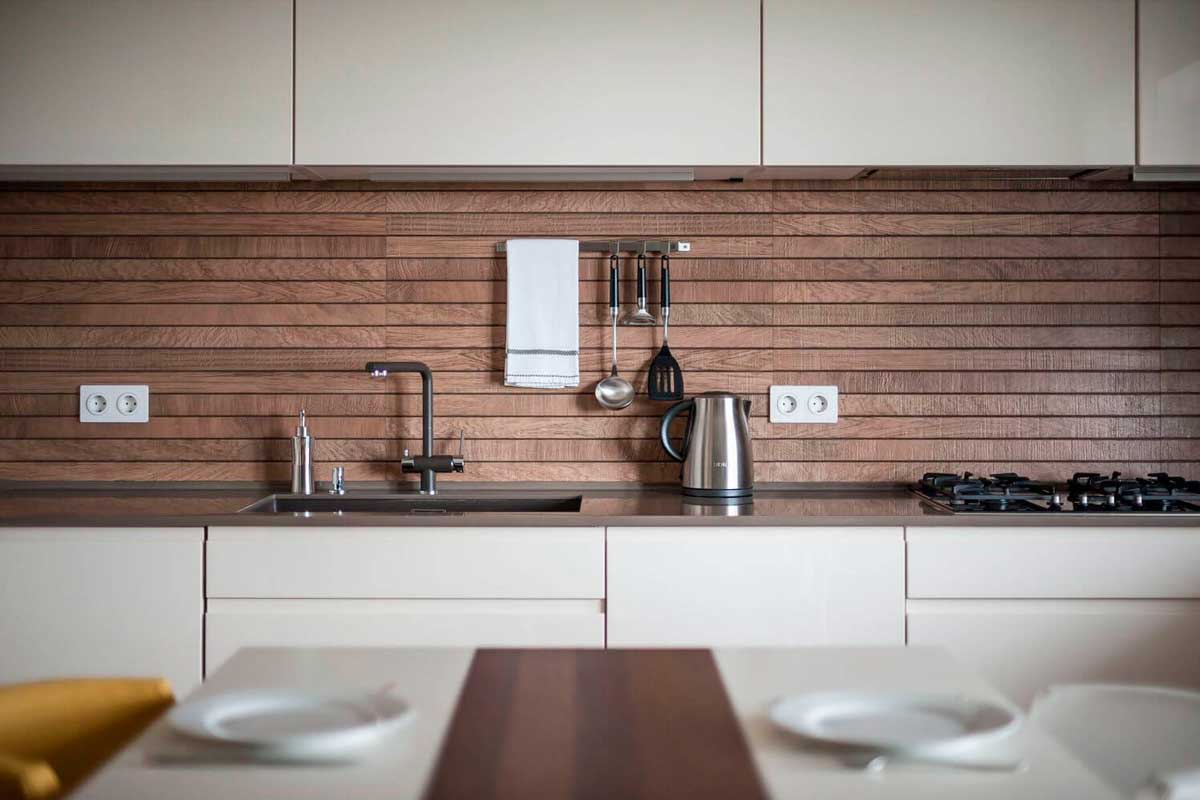
Thin mortar:
The second type of tile adhesive is the thin set mortar. Not at all like premixed adhesives, thinset has a wide extend of applications, making it a really common choice.
Whereas it doesn’t mix in the same convenient way as its other part, it’s up to you to form a blend that works on tiles. Thinsets are made from inorganic and earth-mined materials and are available in modified or unmodified versions.
The unmodified version is made of cement, sand, and a water-retaining agent; the modified version consists of the same composition as previously indicated with the addition of a liquid latex polymer. This type of adhesive is ideal for floors or areas where moisture is present, such as outdoors or in bathrooms.
If you’re pondering what adhesive to utilize on a wall, the answer will shift depending on the space the wall is in. If it’s a kitchen backsplash or an interior wall, you can still enjoy the practical benefits of premixed adhesives. However, if you are laying tiles on the floor or in a wet area (outside, bathroom), you will need to use a fine mortar.
When it comes to a specific type of floor, such as laying tiles on wood, we recommend a fine mortar. That said, it is important that your tiles rest on wood or plywood before doing any tiling work. This will ensure an even surface level for the application, ensuring longevity.
When utilizing tile adhesive on cement surfaces, it is best to utilize a thin mortar. If you are applying tile adhesive over cement, you must first be sure to remove all dust/debris to ensure the adhesive bonds. Also, you would like to make sure to level the cement so it doesn’t topple over. Horizontal surfaces are ideal for the best results.

Tile installation guide for outdoor
At first, the installation of outdoor tile may seem like a complicated task. Here we write a guide for you as want to choose a material that is resistant to the elements and durable. A wrong choice can mean that the whole patio will have to be redone later. Although you can buy pre-cut tiles to get the job done easily, tile installation tools can help you customize your layout. You don’t need to default to a square patio shape pre-determined by the size of the tiles you purchase.
Tile type
First, you need to choose a tile material suitable for outdoor use. Some factors to consider include water absorption, surface adhesion, strength, budget, style, and texture. The two most important points to consider in this list are water absorption and grip. Depending on the material from which they are made, tiles can have a wide range of porosity.
The more porous the tile, the more water it will absorb, which is definitely something to avoid if we are installing the tile outdoors, as porous tiles that often get wet from rain will absorb water like a sponge and will deteriorate rapidly.
Porcelain and other low porosity tiles are best suited for outdoor use. Adhesion to the tile surface is important because we don’t want people to slip outside, especially when it’s raining, snowing or there’s dirt and dust on the patio. This is a simple security consideration and should therefore be prioritized.
Patio tiles and other outdoor tiles should be strong enough to withstand the varying temperatures and weather conditions in your area. Inexpensive tiles can crack and crack after being exposed to widely varying temperatures.
Although budget limits your options, you can still find quality tiles that can hold up outdoors. If you have more to spend, you can design your outdoor patio to incorporate your other outdoor features. The texture of the tile is also important, depending on where it is placed. For example, tiles around swimming pools must have some degree of slip resistance due to excess water.
Common tiling materials suitable for outdoor use include porcelain, stoneware, and quarry. Porcelain is dense and strong, making it look great on most patios. Sandstone slabs are ideal for lightly used terraces. If you choose them, be sure to buy products sold as floor tiles.
Wall tiles are not reasonable for floor utilize. Manual thinning knives are the best solution for cutting large tiles. Slim Easy Trans or Slab Trans Heavy Duty will allow you to pick them up easily and handle them properly when you are done cutting.
Tile Installation Guide
Although the process of installing exterior tile is no different from installing interior tile, you need to consider the weather and location. Installing them in standing water can cause them to crack and deteriorate, and you’ll also want to avoid air spaces under the tiles.
Before beginning patio tile installation or other outdoor work, be sure to inspect all relevant surfaces. Look for cracks or loose concrete, clean it up, and make sure the floor is level. Building on uneven ground can mean that your tiles will also be uneven. In addition, any hollow in the floor can cause puddles of water which can deteriorate the tiles.
More likely, you will need to use a subbase over the existing concrete to level it and fill in the cracks. When installing, try to plan the layout so you don’t have to make too many cuts. Consider expansion joints so they don’t overlap and line them up with grout lines.
A good rule of thumb is to leave at least 3mm of seam space, although this can be affected by the coefficient of expansion of the tile and which you should consult before buying.
Work on small areas at a time and apply mortar to tile and concrete. Tap the tile with a rubber mallet to make it firm. When grouting, keep the grout dry rather than wet, and do not use too much water to remove grout haze.
If your tile is porous, you may need to apply an acrylic grout sealer with a paintbrush. Before using exterior grout, use caulking spacers between tiles along expansion joints, if available. Remove the stem once the grout has been set and fill the gap with latex caulk. You can then apply more putty to it.



Your comment submitted.