Installing is important but how to level a floor covered with tiles is another story. There are some important steps which you must know before DIY beside your personal ideas.
Find out if your substrate is adequate before installing rigid flooring and find out what to do if it isn’t. Knowing how to level a floor is typically necessary for successfully installing new finished flooring.
Slightly sloping floors are common in older homes and frequently cause homeowners anxiety when they want to install new rigid flooring materials like laminate, ceramic tile, or hardwood.
The cause of a sloping floor can be an uneven surface or a sagging area in the middle of the floor. Although being out of level doesn’t need to be fixed, any low or high points must be removed before rigid flooring is installed in order to make the surface “in plane” and flat.
Simply put, leveling a floor refers to the process of repairing both an out-of-level and an out-of-plane floor. Before beginning this project, make sure you have the knowledge you need about leveling a floor by reading on.

What kind of flooring are you going to install in this room?
Before beginning to level one, it is essential to ensure that you have a clear understanding of the type of finished floor that will be laid on top of the subfloor. Because every variety of flooring has its own set of characteristics that can have an impact on the installation process, certain areas need to be meticulously prepared in order to get a stunning end result.
When it comes to minor changes in the subfloor’s flatness, some types of flooring, such as vinyl, may be a little more forgiving than others. However, rigid materials require more extensive preparation than other types of flooring. If a rigid floor is constructed over a substrate that dips or heaves, this might lead to a number of different problems. For example, spaces can develop between hardwood planks, and laminate planks can become unstuck from one another.
Steps to Level Floor
The process to level a floor is a straightforward do-it-yourself project. Keep reading the steps to find out whether or not your substrate is uneven, where it might be uneven, and why it might be uneven, as well as how to repair these problems, so that you can avoid having poor results with rigid flooring.
- Identify inconsistencies.
The time-tested marble method is the most straightforward approach to determine whether your floor is out of level. Watch the marbles roll around the floor as you scatter them throughout the space. The side they roll to most often is lower than the rest of the floor if they do so consistently. There are definitely dips there that you can’t see with the naked eye if they roll to other parts of the floor and stop there. Heaves and dips are terms used to describe high and low points on the floor, respectively.

If you don’t have any marbles on hand, you can use an 8-foot carpenter’s level to look for dips and heaves. Check to see if the level lies flat throughout the entire surface of the floor by placing it in various locations. A low spot can be identified if there is a gap under the level’s center. There is a high area if the level rocks back and forth.
- Ascertain the root of the issue.
You must ascertain the cause of an uneven floor before taking any action to level it. Depending on what’s causing the issue, leveling a floor might either be a DIY endeavor or a task for the pros. Uneven floors are frequently the result of age-related settling, which is probably nothing to worry about. The floor may be uneven in some circumstances due to significant structural conditions, such as foundation concerns, fractured floor joists, rotten sill plates, or delaminated subfloors.
- Get familiar with self-leveling underlayment.
You might be able to level the floor by using a cement-based self-leveling floor product, like Henry Level-Pro Self-Leveling Underlayment, if an engineer determined there are no structural problems (available from The Home Depot). The floor is covered with a gauge rake after a dry substance is combined with water to create a liquid slurry. The slurry will automatically fill in low areas and produce a level surface because it is a liquid.
Self-leveling compound solutions can be applied to uneven but still serviceable wood subfloors, uneven concrete floors, ceramic tile floors, and even over existing floors to avoid having to remove the old tiles. Make sure the product you buy is compatible with your floor by doing some research. When applied 1/8-inch thick, this sort of floor leveling is do-it-yourself friendly and costs about $1.50 per square foot. Depending on the amount of the floor area to be treated and the depth of the low regions, your cost could be more or lower.
- Recognize when a delaminated subfloor needs to be replaced.
A subfloor loses its levelness and structural soundness when it is deformed or delaminated (swells and degrades). The ideal solution is to swap out worn subfloor panels for new ones. Oriented strand board (OSB) and plywood are two different subfloor materials that are both made of wood fibers and glue that are pressed into sturdy panels that are more than capable of supporting the weight of a sturdy floor.

However, they will eventually delaminate if exposed to persistent moisture, such as a continuous trickle from leaking plumbing. Once this happens, you must address the cause of the moisture problem before replacing the subfloor in question.
If you’re a passionate do-it-yourselfer and have a basic understanding of construction, you should be able to repair the broken panels to level the floor. A 4-foot by 8-foot sheet of OSB subflooring costs from $18 to $22, while a plywood subflooring of the same size costs roughly $20 to $24. It is preferable to remove and replace the entire damaged sheet when replacing a delaminated subfloor rather than attempting to put it together from smaller pieces.
- Don’t be afraid to plan a joist that is heaving.
There are times when a floor joist will bow upward, causing a portion of the floor above to heave. Your floor joist may have bowed upward if your marble test revealed a high area where marbles always roll away. Fortunately, this is among the less challenging structural issues to resolve.
The bowed joist must be exposed by removing the subfloor above it, and the high part of the joist must be planed until it is level across the top. You can identify the part of the joist that is too high by drawing a chalk line from end to end along the side of the bowed joist (hold the chalk line at the top end of the joist). The high area can be quickly removed with a power planer, but a manual planer can also be used. You’ll have an even floor once the subfloor is installed once more.
- Keep in mind that other joist problems can frequently be resolved using shims.
The only option to level the floor is to remove the subflooring and shim the joists if the cause of the uneven floor is due to floor joists that were improperly installed, bent, or twisted over time. To make the tops of the joists even, shimming is the process of fastening thin, wedge-shaped pieces of wood on top of the low areas of the joists.
When working on bare joists above a basement or crawlspace, this involves using a laser level to identify the low spots and attaching the shims by screwing and gluing them to the joists. After that, plane the area to take away any high points.

If shimming the joists is necessary, which can cost between $1,000 and $5,000 depending on the size of the job, many homeowners call the professionals.
A bundle of shims costs about $5 at The Home Depot, and depending on how many joists you’re shimming, you may need one or more bundles if you’re skilled with the tools and methods mentioned above and want to DIY.
- Be aware of your limitations when sistering a subpar joist system.
Before there were widespread uniform building codes, some builders constructed the floor joist system with undersized lumber or too-closely spaced joists. A weak, sagging, or bouncy floor was the end result. A structural engineer might advise “sistering” the joists, which entails joining new joists to the existing ones in order to strengthen the floor.
Professionals should sister joists because they know how to bolt new joists to old joists and where to place the ends of the new joists on the sill plate that supports the old joists.
Depending on the quantity of joists that need sistering and whether plumbing and wiring need to be moved in order to attach the sister joists, sistering is a significant project that could cost more than $8,000 to complete.
- Identify the supporting variables.
While the aforementioned elements frequently cause uneven floors, a number of other structural issues can also cause foundation movement, which causes everything above the foundation to move. This may result in uneven floors, wall cracks, and non-closing doors. A structural engineer should inspect and evaluate any foundation issues.
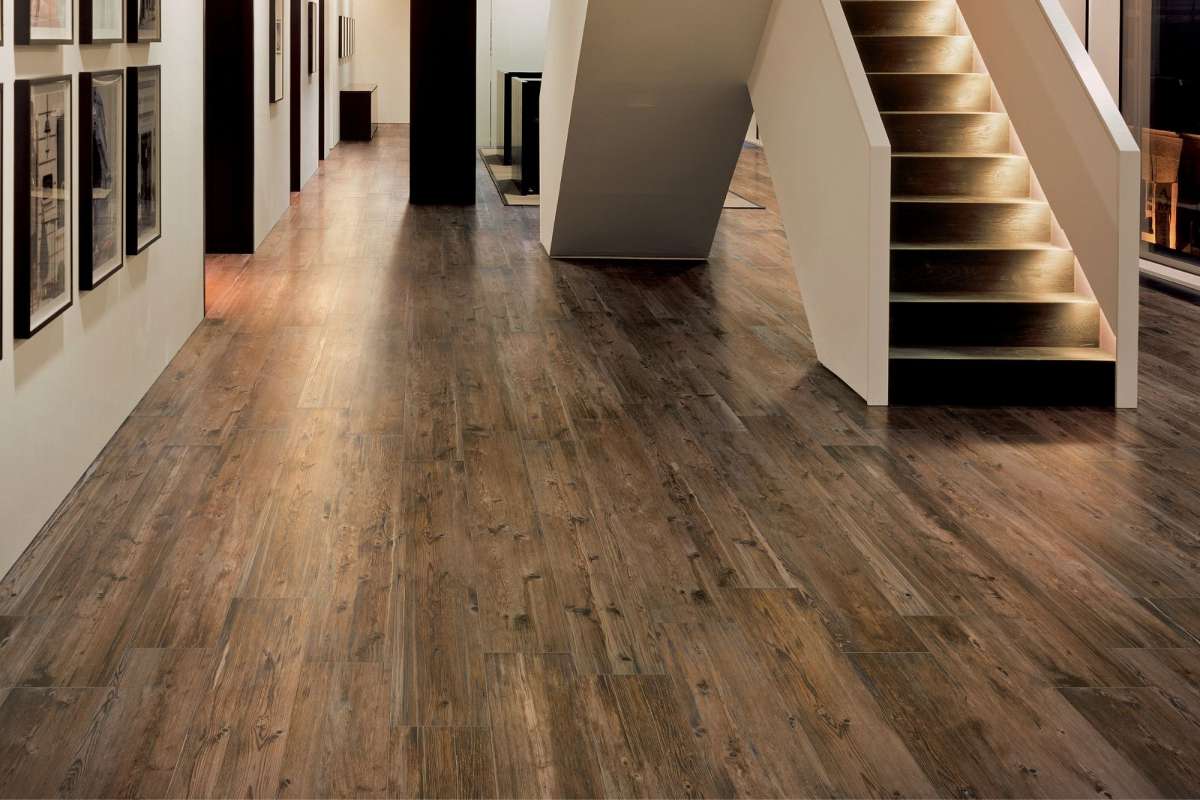
Level Floor Ideas
Depending on what caused the uneven floor in the first place, the ideas of level subfloors properly can range from being a very inexpensive process that many experienced do-it-yourselfers can tackle, to being a project that requires a professional’s expertise.
The majority of the effort consists of locating the shortcomings of the subfloor and determining the approach that will be most successful in addressing those shortcomings. When dealing with highs (heaves) and lows (dips) in the floor, an application of self-leveling underlayment may be necessary in specific circumstances.
However, in order to solve other problems, a little bit more effort is required. Some homeowners may be able to fix foundation issues themselves by sistering joists and shimming joists, but other solutions, such as planning a heaving joist and shimming joists, are typically best handled by professionals. Some homeowners may be able to fix foundation issues themselves by sistering joists.
Whether it is a do-it-yourself effort or one that is best left to a professional, the subfloor will be ready for the new finished flooring once you have determined what needs to be corrected and how to fix the concerns.
The cost of leveling a floor might vary substantially from one location to another. The costs can run anywhere from $2 to $30 per square foot for rapid solutions that only require self-leveling compound to be applied. In the event that there are structural issues that need to be corrected, the expenses will be significantly greater.
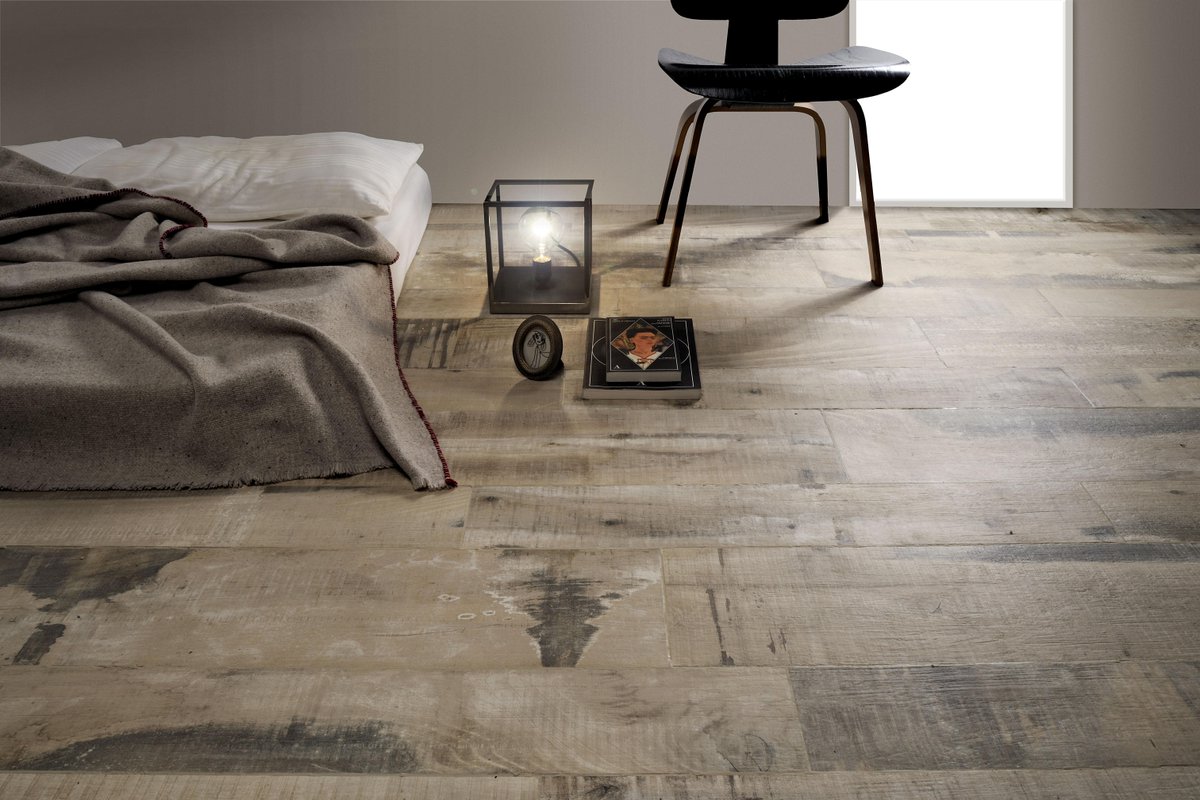
Carpet and vinyl are two examples of flooring materials that are flexible and can be used in older homes that have uneven floors. If a more firm material, like hardwood, is desired for the floor, then the same techniques for leveling the floor in an old house as in a new house need to be followed.
The easiest method to utilize when trying to level a floor is to use a self-leveling compound, which makes use of gravity to even out any dips that may exist in the subfloor. When you need to know how to level a floor without using leveling compound to fix structural difficulties, it might be a more difficult task.
A long-term reliable business relationship is at hand if you contact us. A professional supplier and exporting team support us to have a win-win relationship with our customers.







Your comment submitted.