For a stunning, long-lasting floor, floating tiles are a perennial favorite, especially in bathrooms and kitchens. However, professional installation lessons were essential to know because of the materials and expertise required to set them.
With the introduction of a relatively new, more user-friendly product known as floating tile, which is installed utilizing a much easier, quicker, and cleaner procedure, this is changing.
If you’ve wanted a tile floor but held off because it would be impossible to install standard tile on your own, you might be interested in the concept of a floating tile floor.
However, keep in mind that opinions vary. Continue reading to find out more about floating tile and to determine if it is a good option for your flooring project.
Flooring options: traditional vs. floating
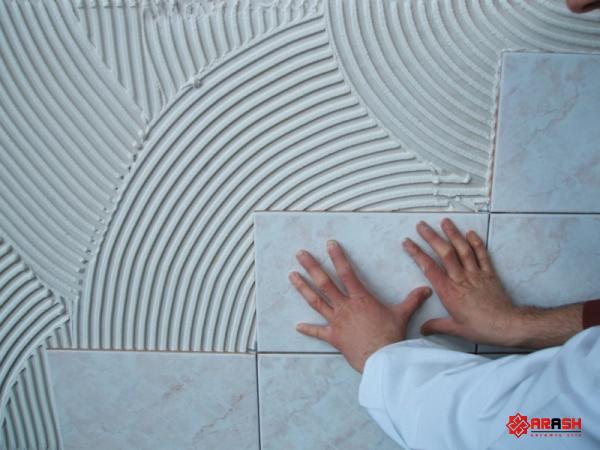
Although both traditional and floating tiles are made of porcelain, laying down a regular tile floor requires considerable skill. Tiles are firmly fastened to a concrete backer board by being first inserted in a layer of thin-set mortar.

In order to secure the backer board to the flooring, more mortar is applied. Professional tile setters spend years perfecting their art because it requires a lot of time.
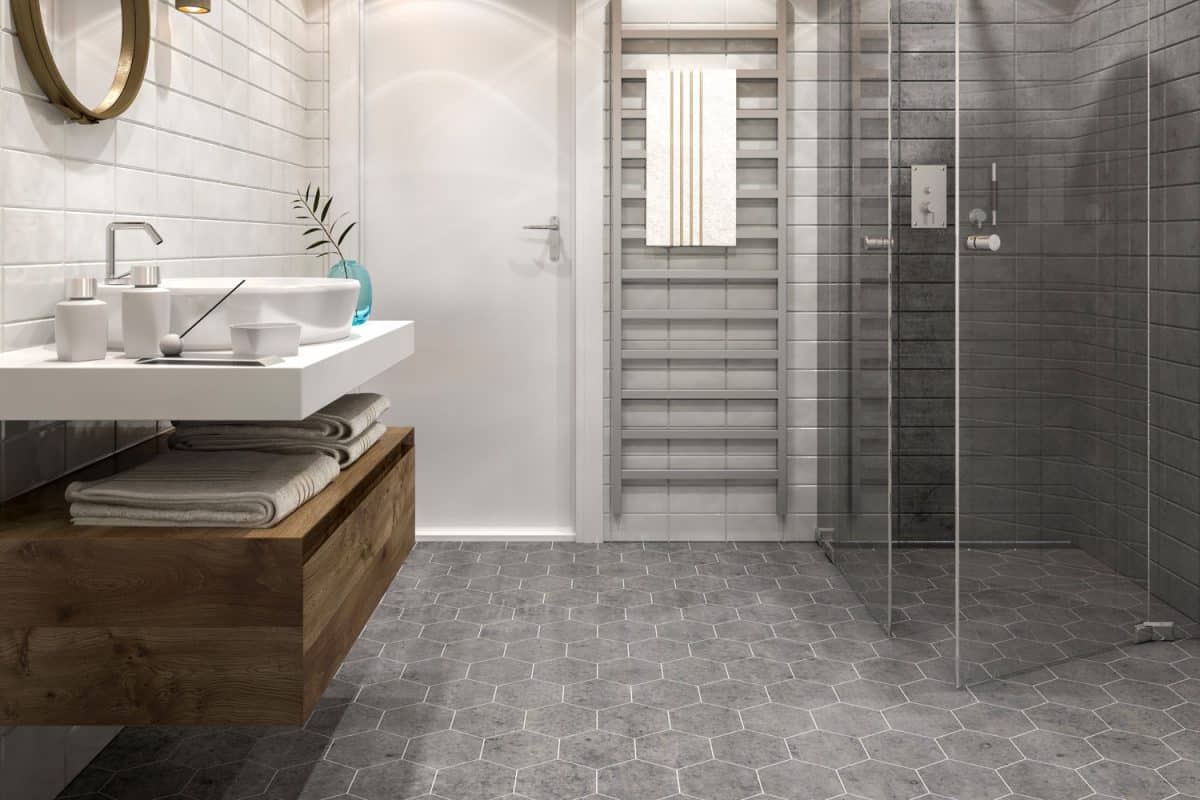
Pre-attached to sturdy rubbery bases that interlock one another are floating tiles. This makes installing tiles easier because there is no need for a mortar base, and the floor is covered in regular grout lines thanks to the interlocking system. Because they are not attached to the subfloor, they are referred described as “floating.” A floating tile floor can be installed properly and appears just as accurate and modern as regular tiles.
Benefits and Drawbacks of a Floating Tile Floor
Due to widespread cracking and the tiles’ separation from their rubberized bases, a few early prototypes of floating tiles that were introduced around 2010 weren’t quite up to pace, and their producers ceased production.
Although installation is undoubtedly simple, floating tiles were just brought back into the market, and although some customers have been pleased with the results, others have not. Here are the benefits and cons of the floating tiles of today.
PROS
You don’t have to mix or trowel mortar (one of the more difficult aspects of laying standard tile).
no crooked grout lines consistent 14″ grout lines are provided by floating snap together.
As long as the floor is level, it can be laid over another solid flooring, including current tile, vinyl, hardwood, linoleum, and concrete.
can be set up immediately on top of an already-existing subfloor.
The top edges of floating tiles will always be level because they interlock. The top margins of typical tile floors may not always be completely level, mainly because there is too much or not enough mortar between the individual tiles.
CONS
The gaps between the tiles still need to be grouted.
– Homeowners frequently complain about cracks. The mortar and concrete backer board of a typical tile floor provide the tiles a sturdy foundation. It has been known for floating tiles to fracture with the weight of heavy furniture or even just an adult walking across the floor because they are not supported by a bed of mortar.
There aren’t many neutral shades of floating tiles, such as tans, beige, and grays, thus there aren’t many design options.
The cost of floating tiles is high. Depending on quality and design, standard tiles can cost anywhere from $1.50 to $10 per square foot, and expert installation can add another $5 to $8 per square foot. Floating tiles are designed for do-it-yourself installation and can cost $15 to $18 per square foot.The ability to measure and cut tiles is still necessary to produce a uniform arrangement.
Because grout is porous, stagnant water on the floor may seep beneath it and impact the subfloor, especially if the grout is cracked (something homeowners have reported). Since the concrete backer board layer shields the flooring from moisture damage, this is not an issue with conventional tile.
Requirements for Floating Tile Floors’ Subfloors
The subfloor needs to be level, flat, and free of bounce in order to lessen the likelihood of damaged tiles and grout. Manufacturers of floating tiles mandate that the subfloor must adhere to industry-standard floor deflection requirements.
This means that when weight is applied to the surface of your flooring, the joists or trusses shouldn’t move. A skilled builder or engineer should assess the degree of deflection in your floor. Before putting in floating tiles, the floor system should be reinforced if it moves too much.
If the floor is uneven, high spots can be leveled off, and low spots can be filled with a solution designed for floor repairs. If these problems are not fixed, floating tiles may fracture.
Dos and Don’ts for Installation
You may buy floating tiles from SnapStone, one of the current market leaders, online at Lowe’s and in many regional home improvement stores. Although installing floating tile flooring is easier than installing mortar-down tile, it still demands accuracy in measuring and attention to detail. Read the installation instructions thoroughly, and for more information on what to expect, view the SnapStone online tutorial.
If you determine that floating tile is for you, the following dos and don’ts will help you get started in the proper direction.
Install floating tiles first, then replace the floor molding to give the room’s edge a finished appearance.
Snapping a chalk line down the precise middle of the room and using that as your starting point is an excellent technique to determine the tile pattern. As an alternative, you might begin laying the tiles along the wall that is furthest away from the room’s entrance.
When cutting tiles to fit along the margins of the floor, use a tile saw.
Installing floating tiles underneath heavy appliances, such as stoves, dishwashers, and refrigerators, is not advised. Put down a new kind of flooring there, like robust vinyl or linoleum.
Instead of placing the toilet on top of the tile, use tile nippers to cut the tile to fit around the curved perimeter of a toilet base.
Use only the grout that the tile manufacturer suggests. Because they are not firmly affixed to the subfloor, floating tiles may move. For the grout to be less likely to crack, it must be flexible.
Use silicone caulk to fill in any gaps along the finished flooring’s edges.
A long-term reliable business relationship is at hand if you contact us. A professional supplier and exporting team support us to have a win-win relationship with our customers.





Your comment submitted.